Zapier API Connector Guide
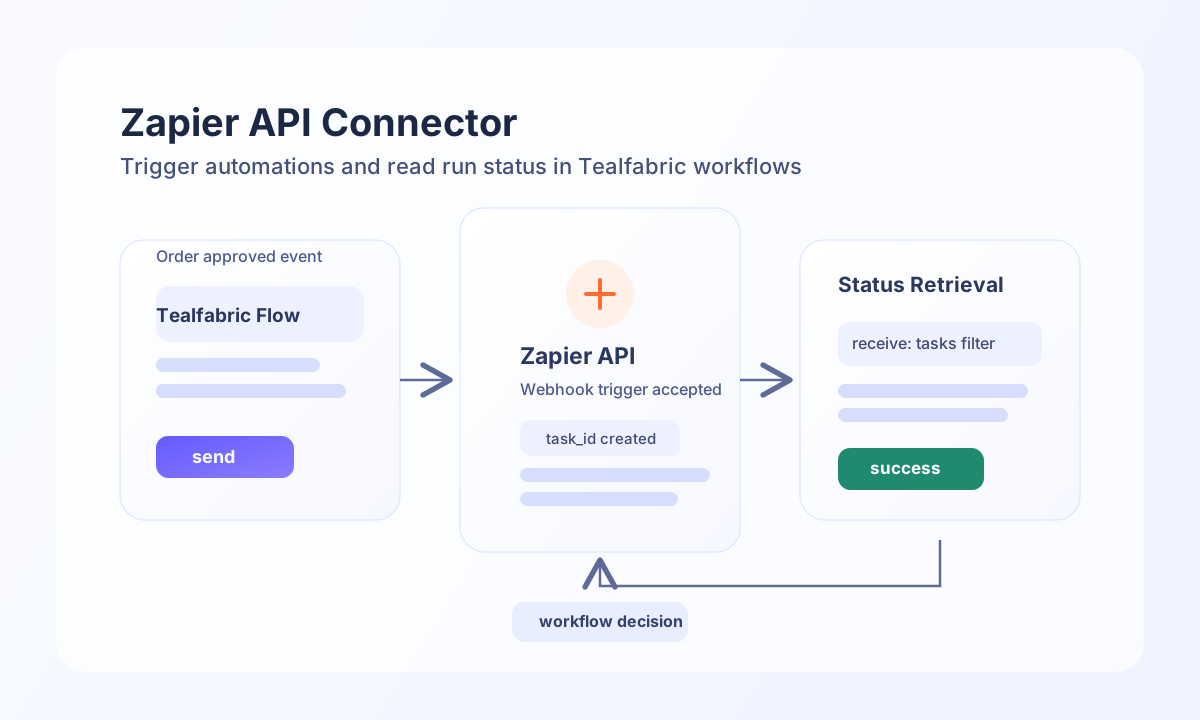
The Zapier API connector lets Tealfabric workflows call the Zapier REST API with API-key authentication. Use it to list Zaps, trigger automations, and retrieve run data through explicit REST paths under https://api.zapier.com/v1 (or a custom api_base_url when configured).
Document information
| Field | Value |
|---|---|
| Canonical URL | /docs/04_connecting-systems/connectors/z/zapier-api |
| Version (published date) | 2026-05-08 |
| Tags | connectors, reference, zapier-api |
| Connector ID | zapier-api-1.0.0 |
Configuration and access
api_key(required): Zapier API key sent asAuthorization: Bearer <api_key>.timeout_seconds(optional): Request timeout in seconds. Default30.api_base_url(optional): Zapier API base URL. Defaulthttps://api.zapier.com/v1.
Run test after setup to confirm authentication and basic API availability before production use.
Trigger automations with send
Use send for write operations against Zapier REST paths. Supply endpoint (path relative to api_base_url), optional method (default POST), and JSON body in data. When data is omitted, the connector sends the full call payload as the request body (excluding configuration keys).
const baseUrl = "https://api.example.com/api/v1";
const tenantId = "<TENANT_ID>";
const apiKey = "<API_KEY>";

async function triggerZapHook(integrationId: string) {
  const response = await fetch(`${baseUrl}/integrations/${encodeURIComponent(integrationId)}/execute`, {
    method: "POST",
    headers: {
      "X-API-Key": apiKey,
      "X-Tenant-ID": tenantId,
      "Content-Type": "application/json",
    },
    body: JSON.stringify({
      operation: "send",
      endpoint: "hooks",
      method: "POST",
      data: {
        url: "https://hooks.zapier.com/hooks/catch/<ENTITY_ID>/<ENTITY_ID>/",
        payload: {
          order_id: "<ENTITY_ID>",
          customer_email: "buyer@example.com",
          total_amount: "249.00",
        },
      },
    }),
  });
  if (!response.ok) throw new Error(`Request failed: ${response.status}`);
  const payload = await response.json();
  return payload.data;
}
curl -X POST "https://api.example.com/api/v1/integrations/<ENTITY_ID>/execute" \
-H "X-API-Key: <API_KEY>" \
-H "X-Tenant-ID: <TENANT_ID>" \
-H "Content-Type: application/json" \
-d '{
"operation": "send",
"endpoint": "hooks",
"method": "POST",
"data": {
"url": "https://hooks.zapier.com/hooks/catch/<ENTITY_ID>/<ENTITY_ID>/",
"payload": {
"order_id": "<ENTITY_ID>",
"customer_email": "buyer@example.com",
"total_amount": "249.00"
}
}
}'
{
  "success": true,
  "data": {
    "message": "Zapier operation completed successfully",
    "result": {
      "id": "<ENTITY_ID>",
      "status": "success"
    }
  }
}
Retrieve Zap data with receive
Use receive for GET requests against Zapier REST paths. Results are normalized from response.results when present; otherwise the top-level response object is returned as a single item.
const baseUrl = "https://api.example.com/api/v1";
const tenantId = "<TENANT_ID>";
const apiKey = "<API_KEY>";

async function listZaps(integrationId: string) {
  const response = await fetch(`${baseUrl}/integrations/${encodeURIComponent(integrationId)}/execute`, {
    method: "POST",
    headers: {
      "X-API-Key": apiKey,
      "X-Tenant-ID": tenantId,
      "Content-Type": "application/json",
    },
    body: JSON.stringify({
      operation: "receive",
      endpoint: "zaps",
      query: {
        limit: 25,
      },
    }),
  });
  if (!response.ok) throw new Error(`Request failed: ${response.status}`);
  const payload = await response.json();
  return payload.data;
}
curl -X POST "https://api.example.com/api/v1/integrations/<ENTITY_ID>/execute" \
-H "X-API-Key: <API_KEY>" \
-H "X-Tenant-ID: <TENANT_ID>" \
-H "Content-Type: application/json" \
-d '{
"operation": "receive",
"endpoint": "zaps",
"query": {
"limit": 25
}
}'
{
  "success": true,
  "data": {
    "message": "Zapier data retrieved successfully",
    "zap_count": 2,
    "items": [
      { "id": "<ENTITY_ID>", "title": "Order sync", "status": "on" },
      { "id": "<ENTITY_ID>", "title": "Customer onboarding", "status": "on" }
    ]
  }
}
Arbitrary API calls with execute
Use execute when you need an explicit HTTP method (default GET) and optional JSON body via body or data.
{
  "operation": "execute",
  "endpoint": "zaps/<ENTITY_ID>",
  "method": "PATCH",
  "body": {
    "status": "off"
  }
}
{
  "success": true,
  "data": {
    "message": "Zapier method executed successfully",
    "result": {
      "id": "<ENTITY_ID>",
      "status": "off"
    }
  }
}
Validate connection with test
test validates api_key and probes GET zaps against the configured API base URL.
curl -X POST "https://api.example.com/api/v1/integrations/<ENTITY_ID>/execute" \
  -H "X-API-Key: <API_KEY>" \
  -H "X-Tenant-ID: <TENANT_ID>" \
  -H "Content-Type: application/json" \
  -d '{
    "operation": "test"
  }'
{
  "success": true,
  "data": {
    "message": "Zapier connection test successful",
    "details": {
      "api_base_url": "https://api.zapier.com/v1",
      "zaps_found": 3
    }
  }
}
Operate safely in production
Zapier APIs can throttle high-frequency polling and trigger traffic. Use reasonable polling intervals, pagination via query, and retry with backoff for 429 responses to keep automations reliable.
Authentication and authorization issues usually come from revoked API keys or insufficient account permissions. Store keys securely, rotate them regularly, and test access after permission or account changes.
Related resources
For endpoint details and platform behavior, see the Zapier developer documentation and Zapier API documentation.