OpenAPI / Swagger UI
Document information
- Canonical URL:
/docs/08_api-for-developers/05_openapi-swagger-ui__source-master - Version:
2026-05-08 - Tags:
api,reference,api-reference
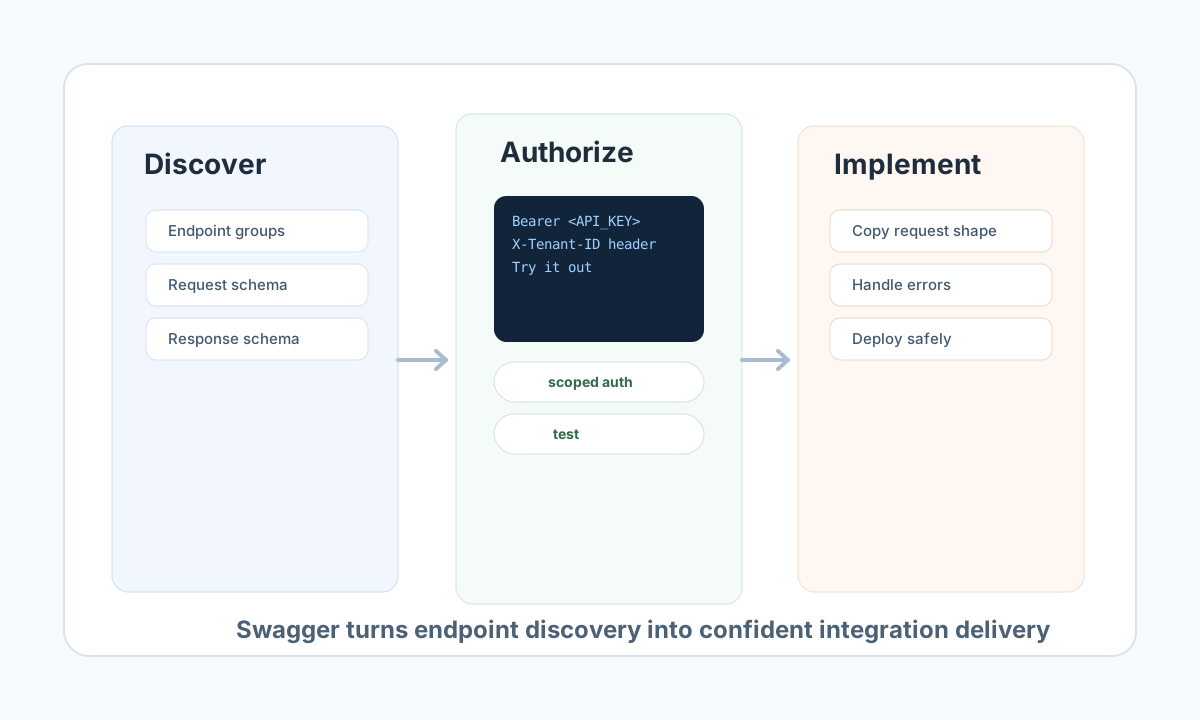
Swagger UI is the fastest way to explore and test Tealfabric APIs before implementing integration code. It combines endpoint discovery, request/response schema inspection, and authenticated testing in one place, which reduces trial-and-error during development.
Open the interactive reference here: Swagger UI.
Use Swagger as an implementation workflow
A practical workflow is to locate an endpoint family, read required parameters and schema constraints, authorize with your API key, and execute test requests with representative payloads. This sequence helps you catch scope issues, validation errors, and shape mismatches early.
Swagger is also useful for confirming status code behavior and error response formats before writing production retry and monitoring logic. Treat the UI as your contract verification surface, then move those validated calls into application code.
Common endpoint categories
Most integrations use a small set of endpoint groups repeatedly: authentication and key setup, entity and platform operations, ProcessFlow execution, and integration APIs. Starting with these groups usually gives enough coverage to build end-to-end automation paths.
| Category | Typical purpose |
|---|---|
| Authentication | Login, logout, session and key-based auth flows |
| Entities | Create, update, search, and retrieve tenant entities |
| Platforms | Manage platform records and configuration |
| Integrations | Execute configured connectors and integration actions |
| ProcessFlow | Run processes and inspect execution status |
| WebApps | Manage app resources and deployment-related actions |
| Chat | AI-assisted conversation endpoints |
Validate endpoint behavior in code
After confirming an endpoint in Swagger, apply the same contract in your integration code with explicit auth headers and payload handling. The examples below align behavior across TypeScript and JavaScript for a basic entity fetch flow.
const baseUrl = "https://api.example.com/api/v1";
const tenantId = "<TENANT_ID>";
const apiKey = "<API_KEY>";

type Entity = {
  entity_id: string;
  name: string;
  status: string;
};

async function fetchEntity(entityId: string): Promise<Entity> {
  const response = await fetch(`${baseUrl}/entities?id=${encodeURIComponent(entityId)}`, {
    method: "GET",
    headers: {
      "X-API-Key": apiKey,
      "X-Tenant-ID": tenantId,
      "Content-Type": "application/json",
    },
  });
  if (!response.ok) throw new Error(`Request failed: ${response.status}`);
  const payload = (await response.json()) as { data?: Entity };
  if (!payload.data) throw new Error("Missing entity payload");
  return payload.data;
}
Use curl for quick contract checks
This request is useful for smoke testing connectivity, auth scope, and response shape after validating endpoint details in Swagger.
curl -X GET "https://api.example.com/api/v1/entities?id=<ENTITY_ID>" \
  -H "X-API-Key: <API_KEY>" \
  -H "X-Tenant-ID: <TENANT_ID>" \
  -H "Content-Type: application/json"
{
  "success": true,
  "data": {
    "entity_id": "<ENTITY_ID>",
    "name": "Example Entity",
    "status": "active"
  }
}
For operational credential setup and rotation, continue with API key management.